Installation
This is a short instruction describing how to start creating backups for your GitHub repositories.
Follow the 3 steps below to start using Cloudback.
Step 1: Set up a new plan from the GitHub Marketplace
Follow the link to open Cloudback listing on the GitHub Marketplace.
Click on the
Set up a new planbutton.
In the Pricing and Setup section, select the account for which the Cloudback application will be installed and then click on the
Install it for freebutton.
You will be redirected to the Cloudback application installation page.
Step 2: Install the GitHub application.
On the
Install Cloudbackpage, select the repositories you want to back up.Click on the
Installbutton.
Wait until you are redirected to the authorization page. Click on the
Authorize Cloudbackbutton.
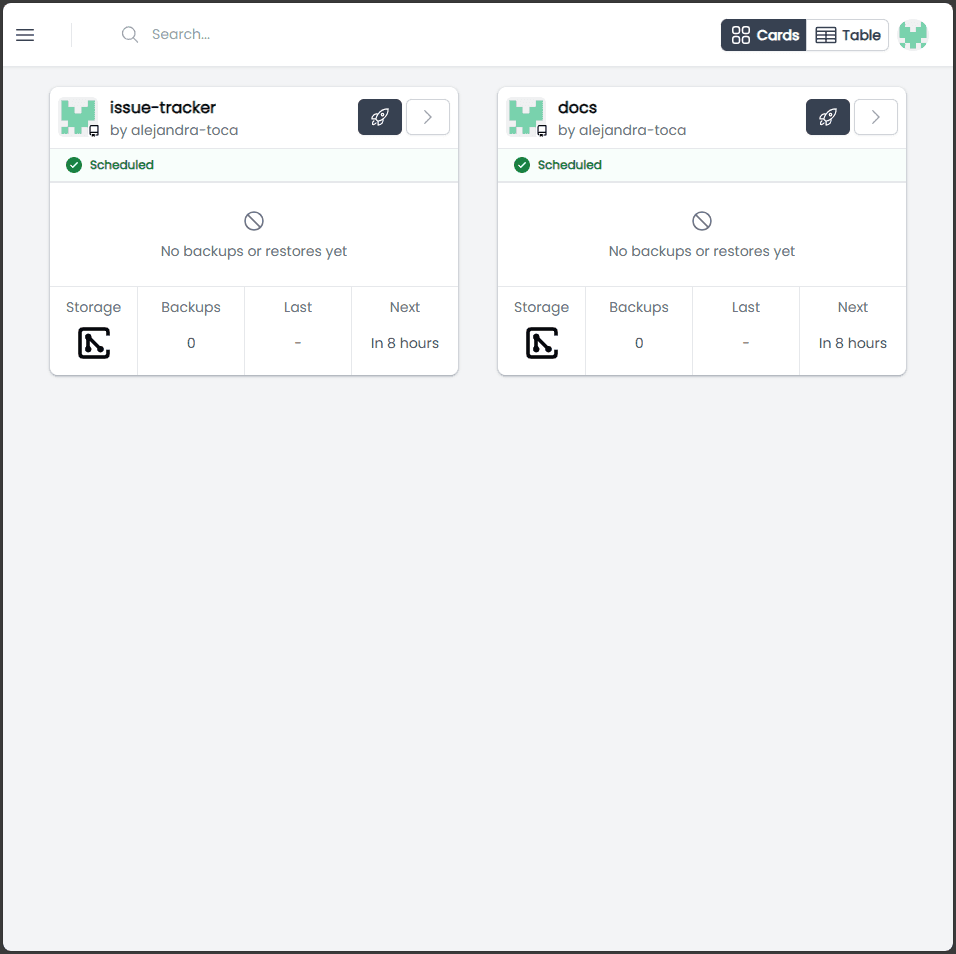
You then will be redirected to the Cloudback Dashboard

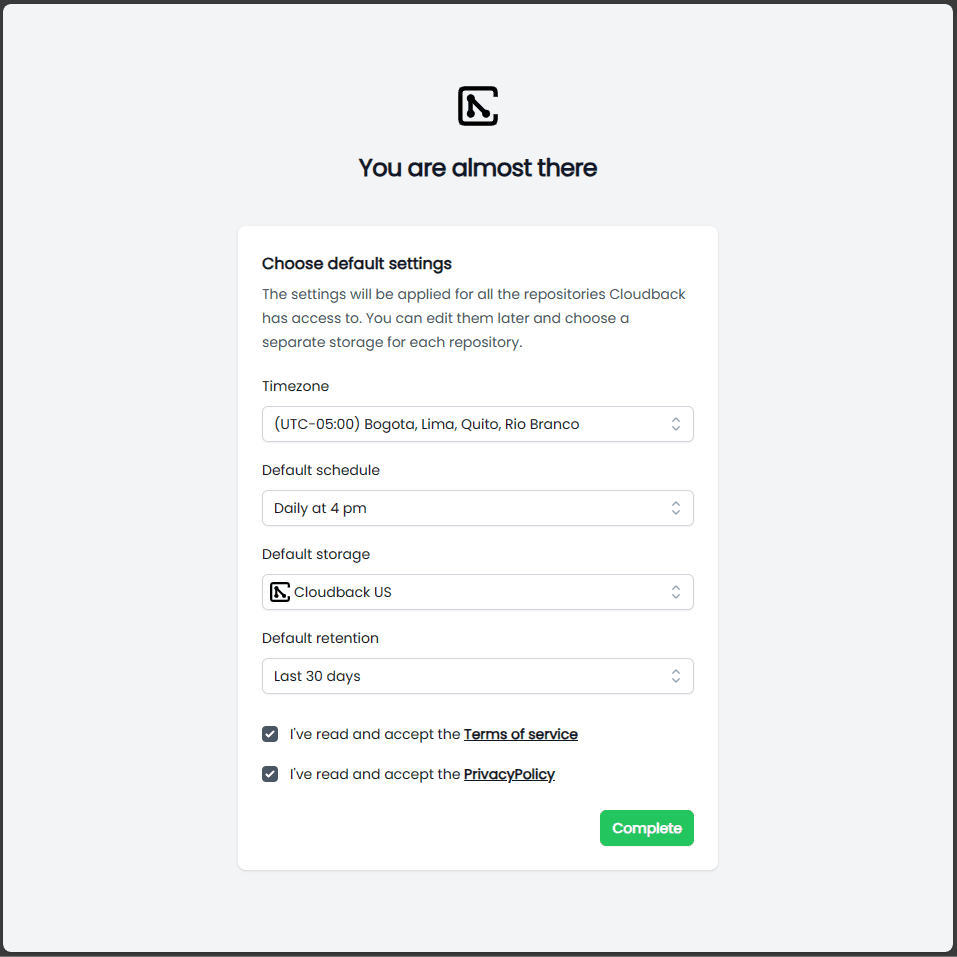
Step 3: Complete installation on Cloudback Dashboard
On the
Cloudback Dashboardpage review the default settings that will be used for creating repository backups.Accept Terms of Service and Privacy Policy by clicking on the corresponding checkboxes.
Click on the
Completebutton.
That’s it, you now have completed the installation!